
Multi-bay pergola configuration: one project, separate roof zones
Plan multi-bay pergolas with Configurix: map roof zones, shared posts, side options and quote items to the same product configuration.
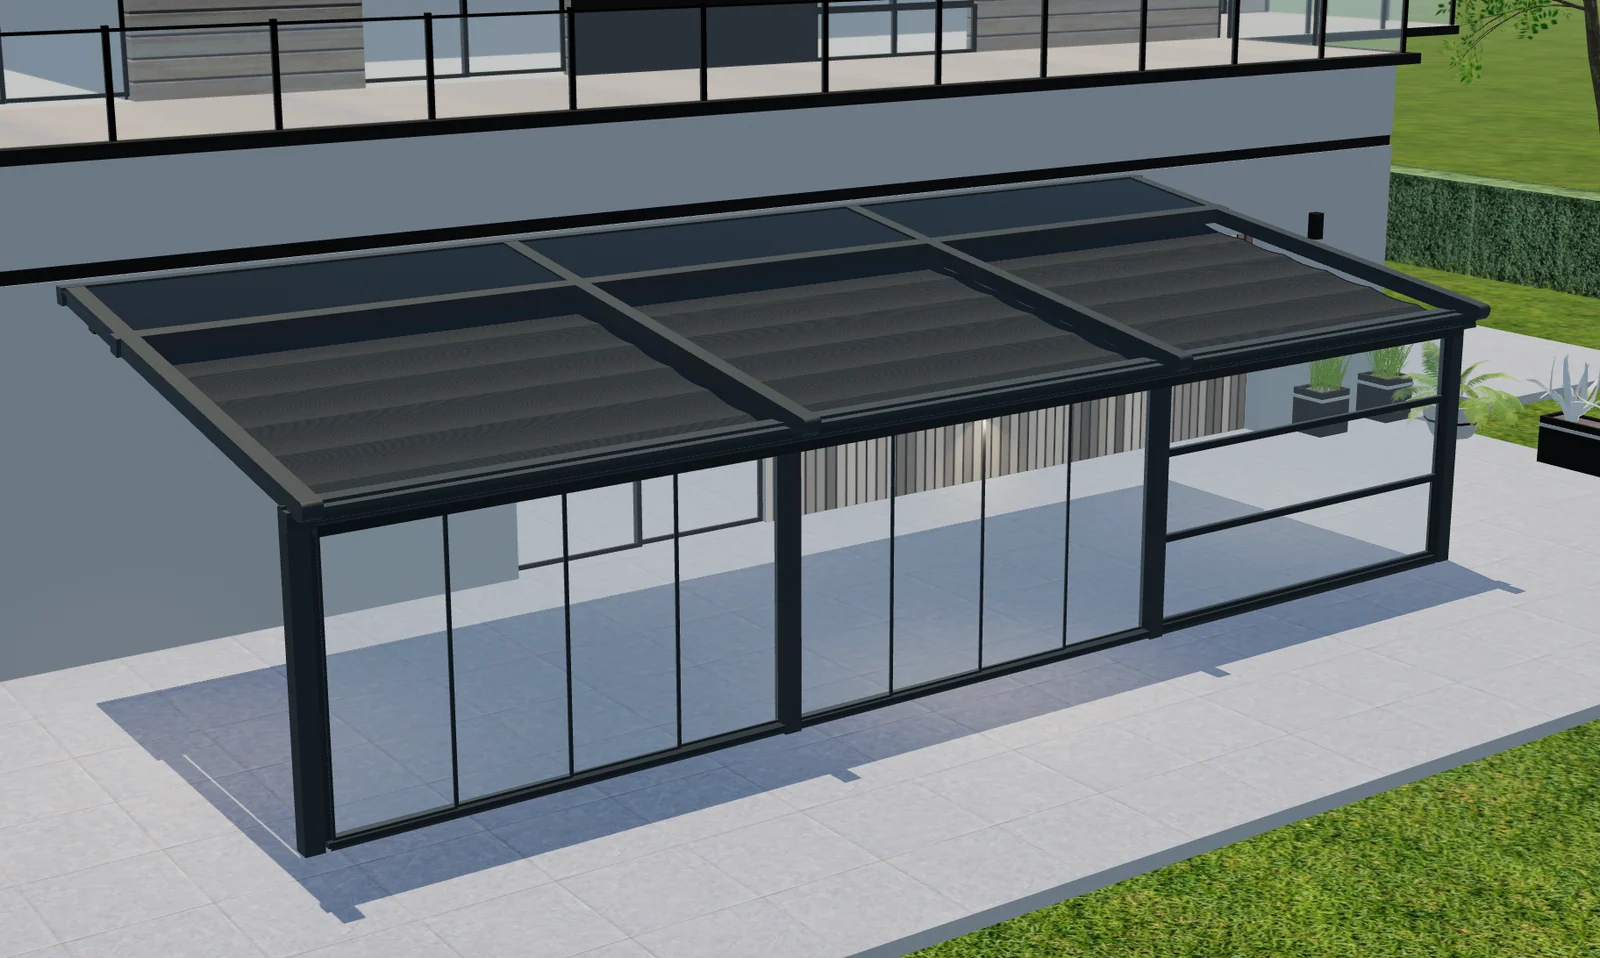
Table of contents
A multi-bay pergola is not just a larger version of a single module. Several roof zones can share posts, meet at different edges and carry different side options. For a manufacturer or dealer, the challenge is to keep that arrangement understandable in 3D and unambiguous in the quotation.
Configurix can build the configuration around the modules and combinations your range supports. The useful starting point is a project with named bays, rather than one width field that hides how the structure is assembled.
Give every bay a clear identity
Define the overall footprint and the dimensions of each module separately. Use stable labels such as Bay A and Bay B in the visual model, option selection and quote. If the buyer changes one roof zone, the salesperson should be able to explain exactly which section changed.
Record whether a dimension describes the external frame, an opening or the spacing between posts. Mixing those conventions can make two apparently identical configurations represent different products.
Model the connection between modules
Adjacent modules may use a shared post or require separate components. Do not assume that adding two single-bay parts lists produces the correct combined structure. The catalog should identify connection components, permitted arrangements and the conditions that require technical review.
In a Configurix implementation, those approved product rules can guide the choices offered to customers. Structural limits come from the manufacturer's data; the visual arrangement alone does not establish that a project is technically approved.
Attach roof and side options to the correct zone
A screen on the outside edge of Bay A is different from a closure between two bays. Similarly, roof orientation, lighting and controls need an explicit association with the module they serve. A global accessory checkbox is often too vague for a complex project.
| Selection | Information to preserve | Commercial consequence |
|---|---|---|
| Additional bay | Dimensions and connection type | Module and connection items |
| Roof zone | Roof system and orientation | Applicable roof components |
| Side enclosure | Edge, opening and chosen system | Correct closure reference |
| Control package | Zones operated together | Approved equipment package |
Quote shared components only once
Separate module items from project-wide items. A shared control package, delivery charge or approved connection should not be repeated simply because the customer selected another bay. Conversely, an accessory fitted to two different edges may require two distinct items.
Review the item list alongside the 3D view. Configurix connects configuration and quoting, but the mapping must follow your actual catalog rather than a guessed component breakdown.
Test changes before releasing the range
Compare a single bay, two equal bays and an asymmetric arrangement. Add an enclosure, remove a module and switch a roof option. Check which items disappear, which remain shared and whether the new design needs review. This catches mistakes that a polished initial view can hide.
Use the Configurix pergola configurator as the commercial starting point. For a private review, bring module drawings, connection references and one multi-bay quote to a Configurix demo. The goal is a configuration your customer can understand and your team can price without reconstructing it.
Book a private Configurix demo
Bring your product range, price list and a representative quote. We can define the configuration and sales workflow around your business.
Book a private Configurix demo →Related articles
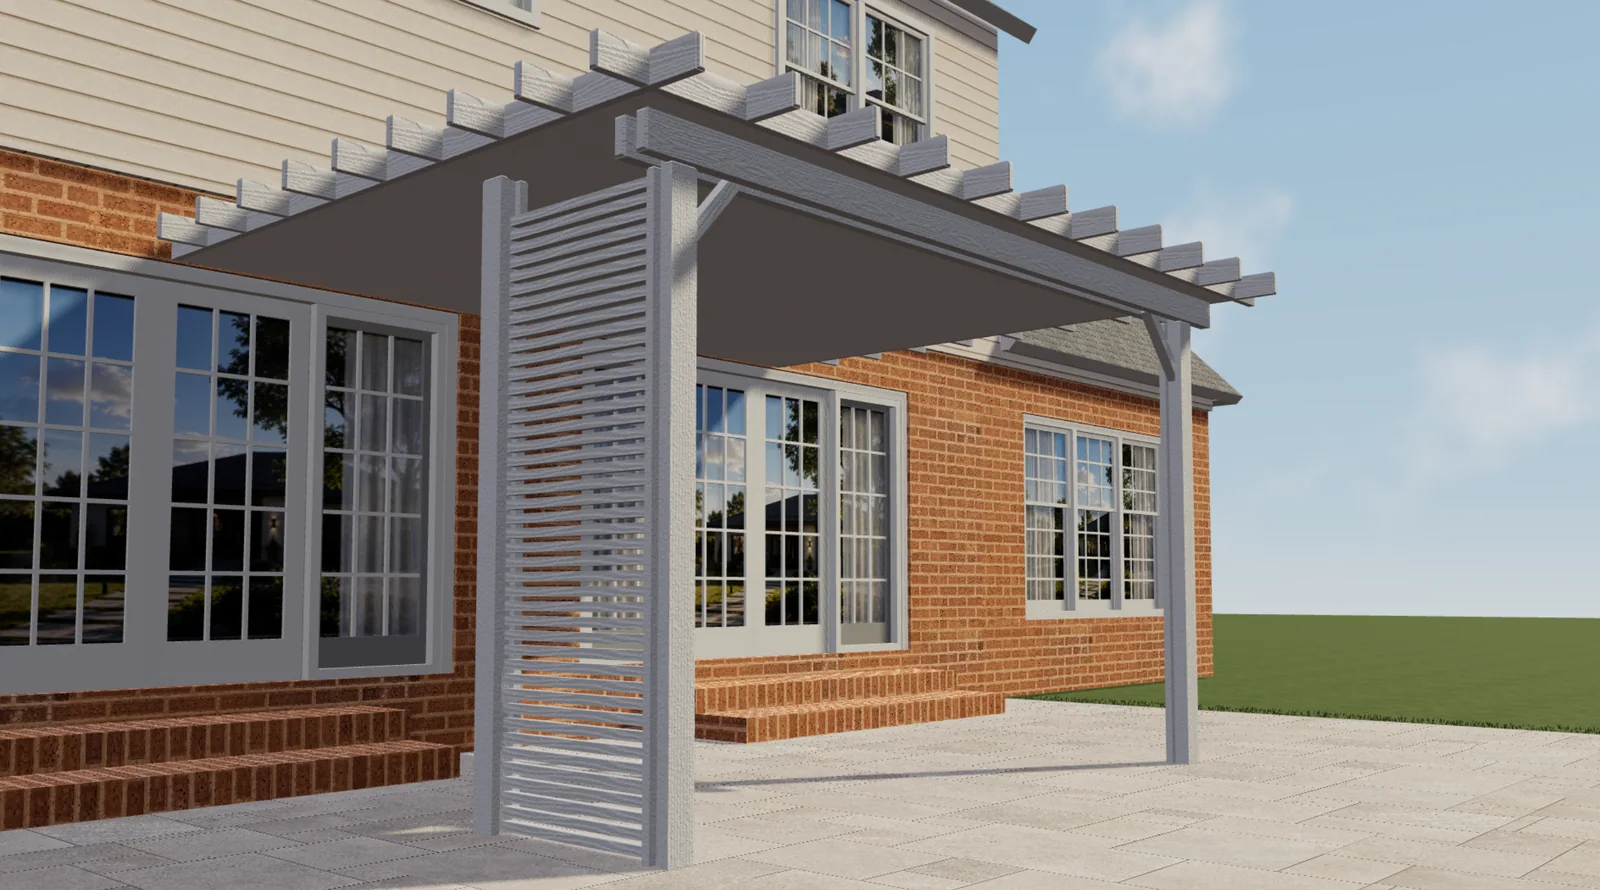
Configurix pergola projects: Elite Aluminum and Tenteks Italia
Explore two Configurix customer projects and what their pergola, sunroom and multi-product workflows mean for your own catalog and quotes.
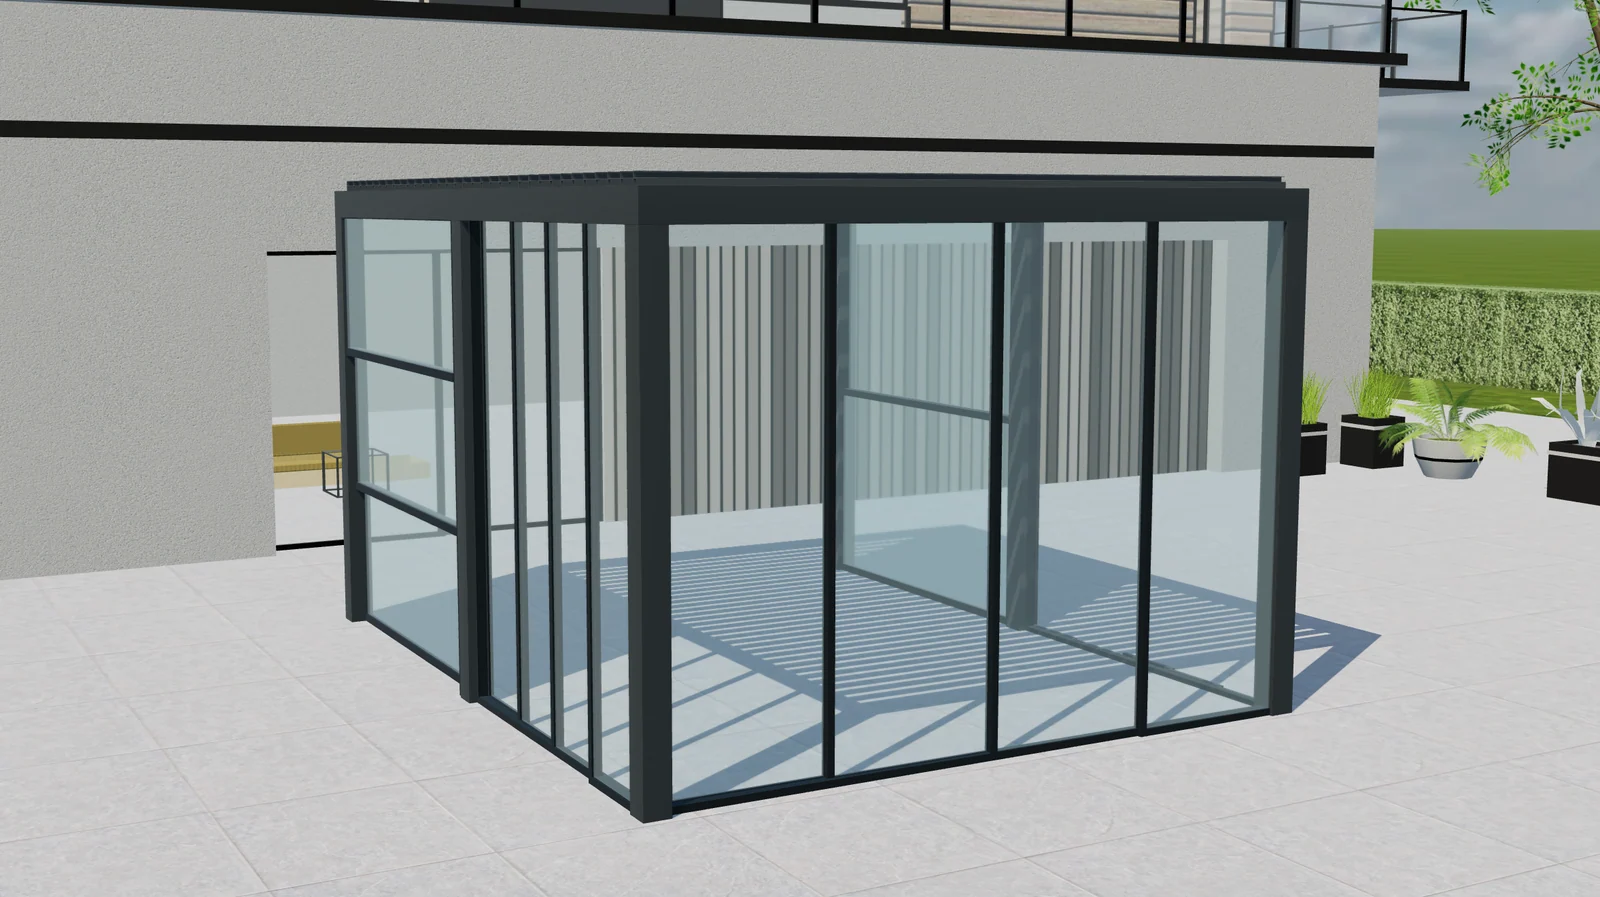
Pergola upgrade packages: clearer quotes with Configurix
Plan pergola accessory packages with Configurix: define included parts, replacements and compatibility so options and quote items stay aligned.
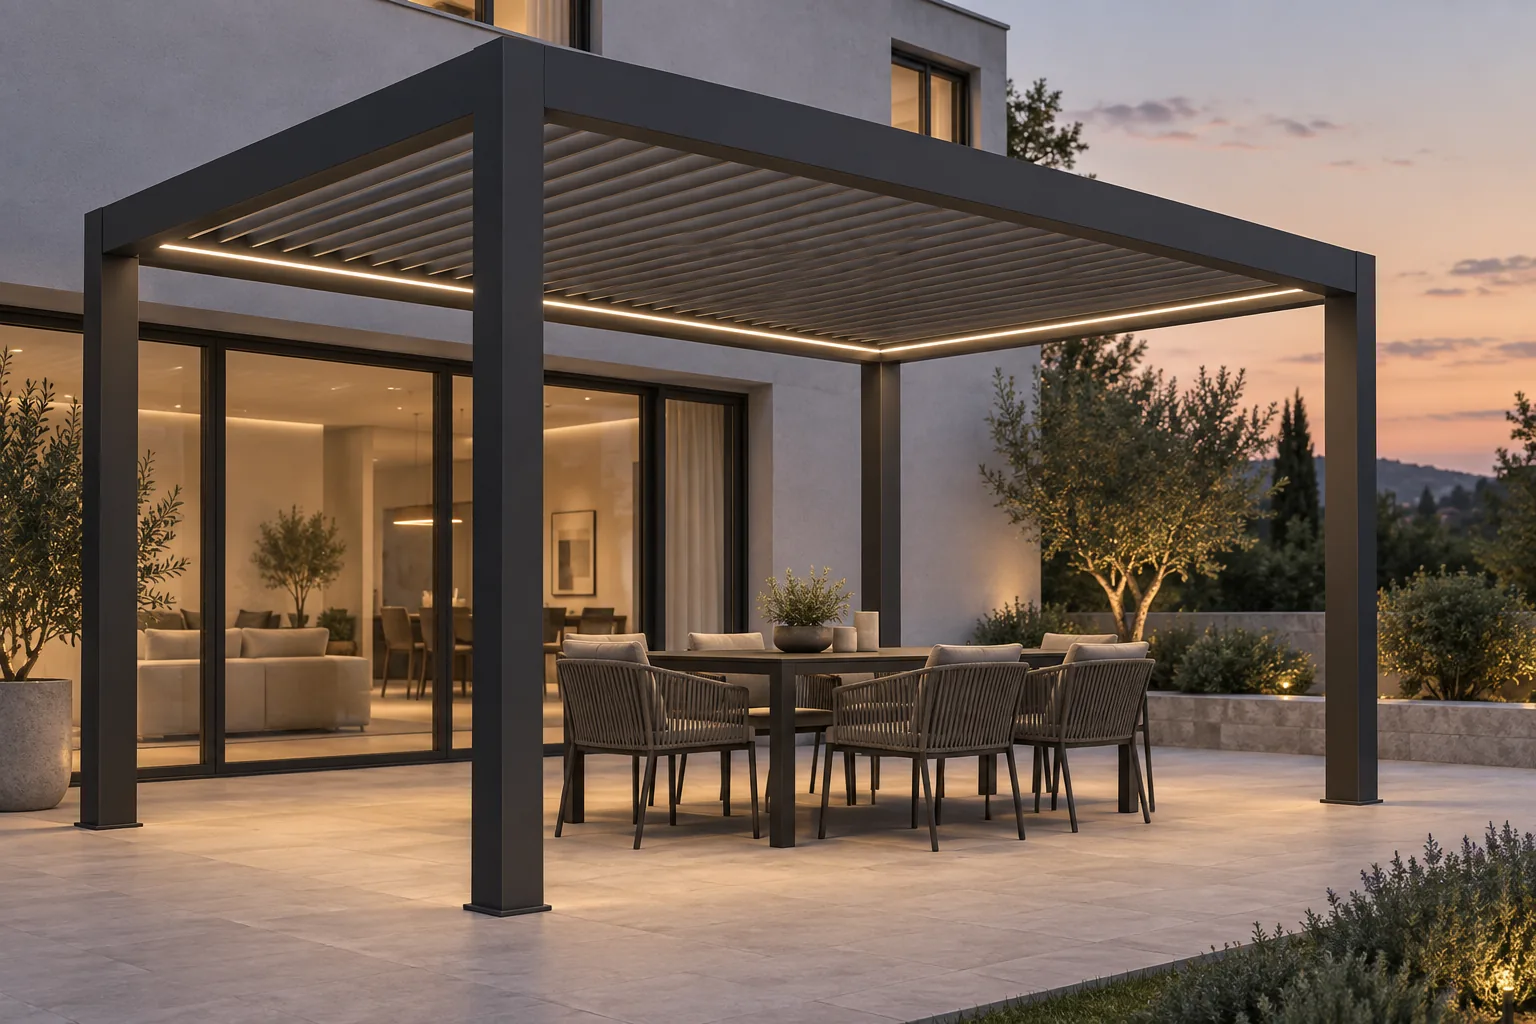
Bioclimatic pergola lighting and controls: specify the complete system
Plan bioclimatic pergola lighting, motors, controls and accessory dependencies. Connect customer choices with clear specifications and Configurix quotes.
Bioclimatic pergola louvre orientation: explain light and shade
A dealer's guide to bioclimatic pergola louvre orientation, roof movement and shade, with clearer product choices and quotations using Configurix.